Get set up: your first campaign
The six setup steps in order: connect LinkedIn, connect email, build your ICP, create a campaign, approve the first five messages and start it. With links.
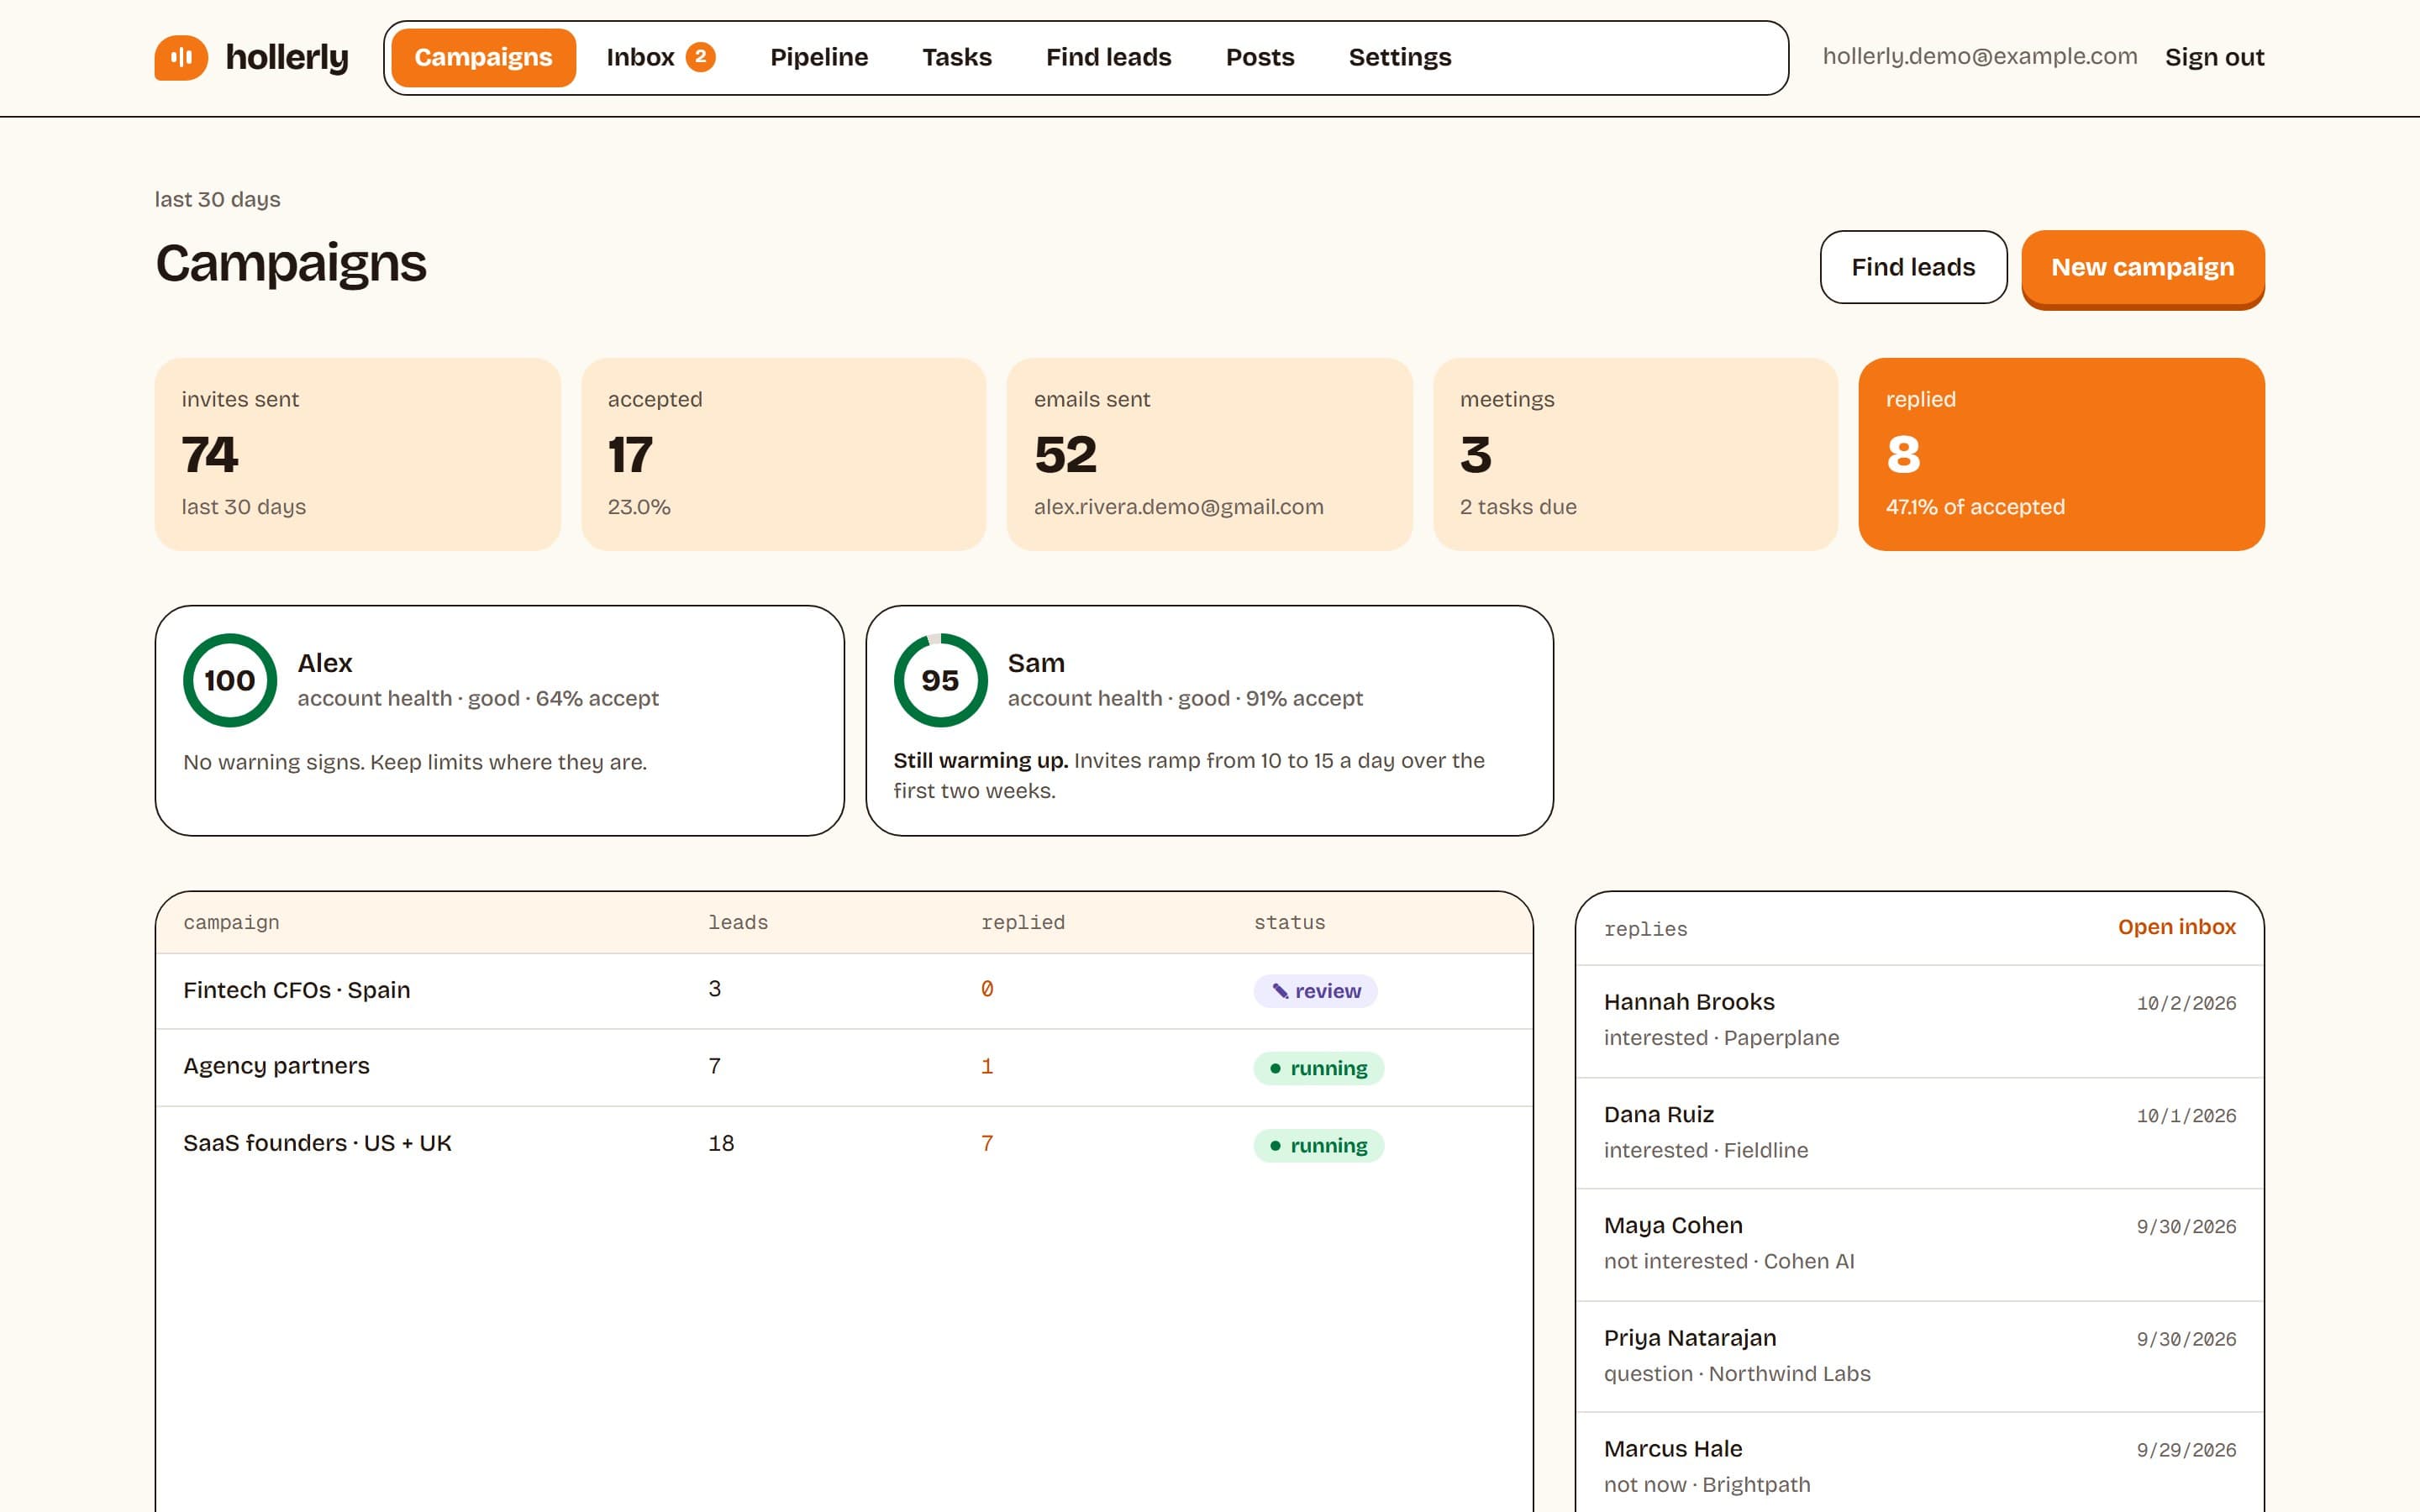
The Get set up checklist on the dashboard home tracks these steps. Each one ticks itself off when Hollerly sees it done in your workspace, so there is nothing to mark by hand.
1. Connect LinkedIn
Go to Settings, Channels & safety and connect your LinkedIn account with your email and password or a session cookie. Hollerly runs it from a dedicated cloud browser with its own IP in your country. See Connect your LinkedIn account.
2. Connect your mailbox (optional)
On Pro and Agency, and during the trial, connect Gmail, Outlook or an SMTP mailbox for email steps. Skip this if you only use LinkedIn. See Connect Gmail, Outlook or SMTP.
3. Build your ICP or find leads
Open Find leads, enter your website and click Build my ICP. Claude reads your homepage and suggests job titles, industries and a LinkedIn search. See Build your ideal customer profile.
4. Create your first campaign
Click New campaign, pick a starting sequence, describe your offer, then add leads from a LinkedIn search, a post or a CSV. See Create a campaign and Add leads.
5. Approve the first five messages
On the campaign page, click Draft 5 samples. Read each one, then approve, edit or rewrite it.
6. Start the campaign
Click Start campaign. It runs inside your working hours and safety limits, and stops for each lead as soon as they reply. See Approve the first five and start.
Hiding the checklist and the tour
Click Hide on the checklist when you no longer need it. You can bring it back, or replay the product tour, from the Help menu at the top of the dashboard. Hollerly remembers your choice on your profile, so it follows you to other devices.